Set Up LED Strips
LED strips promise instant ambiance — behind the TV, under the cabinets, along the stairs — but the box hides the real questions: how to power a long run, where you are allowed to cut, and why the far end looks dimmer. A planned install takes an hour and looks professional; a rushed one peels off by spring.
TL;DR / Quick Fix
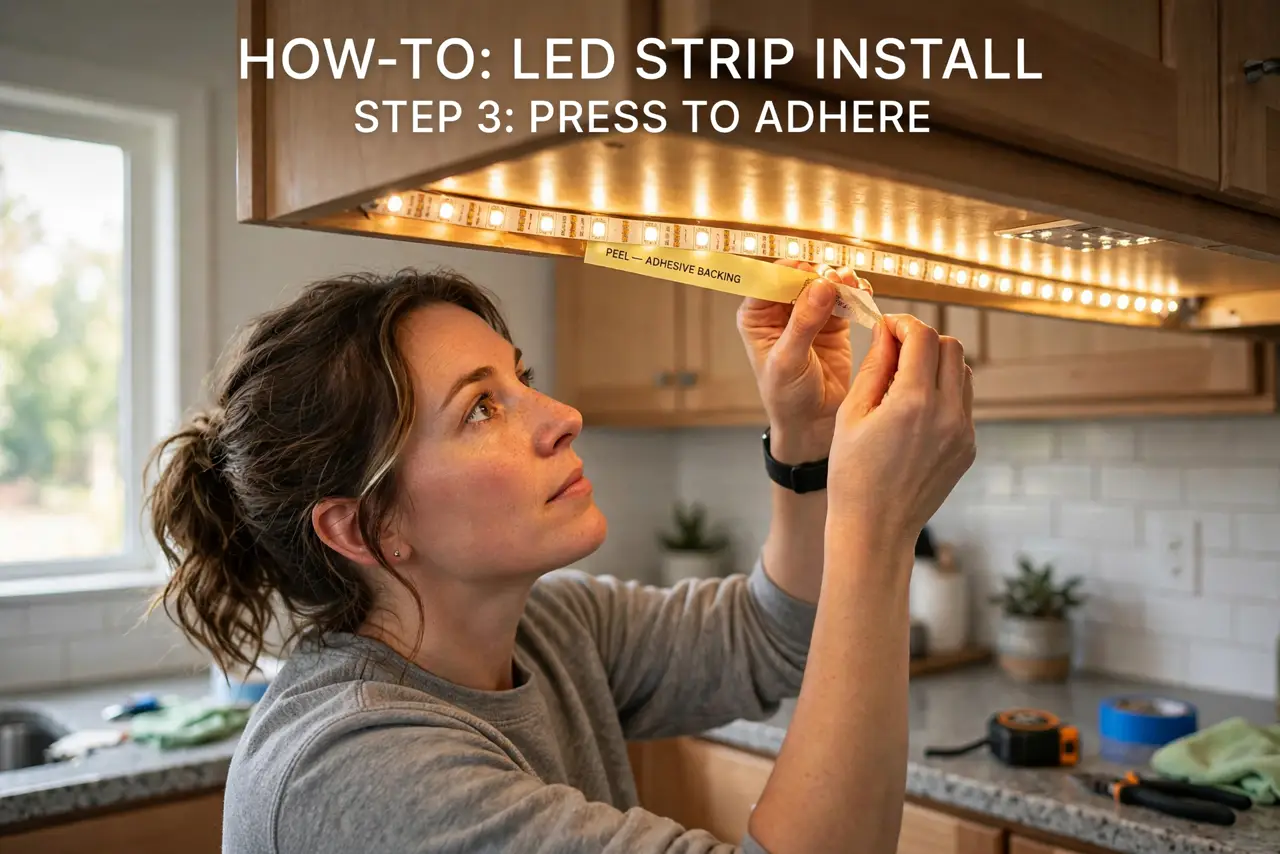
Quick fix: measure the area, clean the surface with alcohol, and mount the strip before connecting power — adhesive fails on dusty surfaces. Cut only at the marked scissor lines, join sections with solderless connectors, and connect the controller before the wall adapter to avoid sparks.
Follow these steps
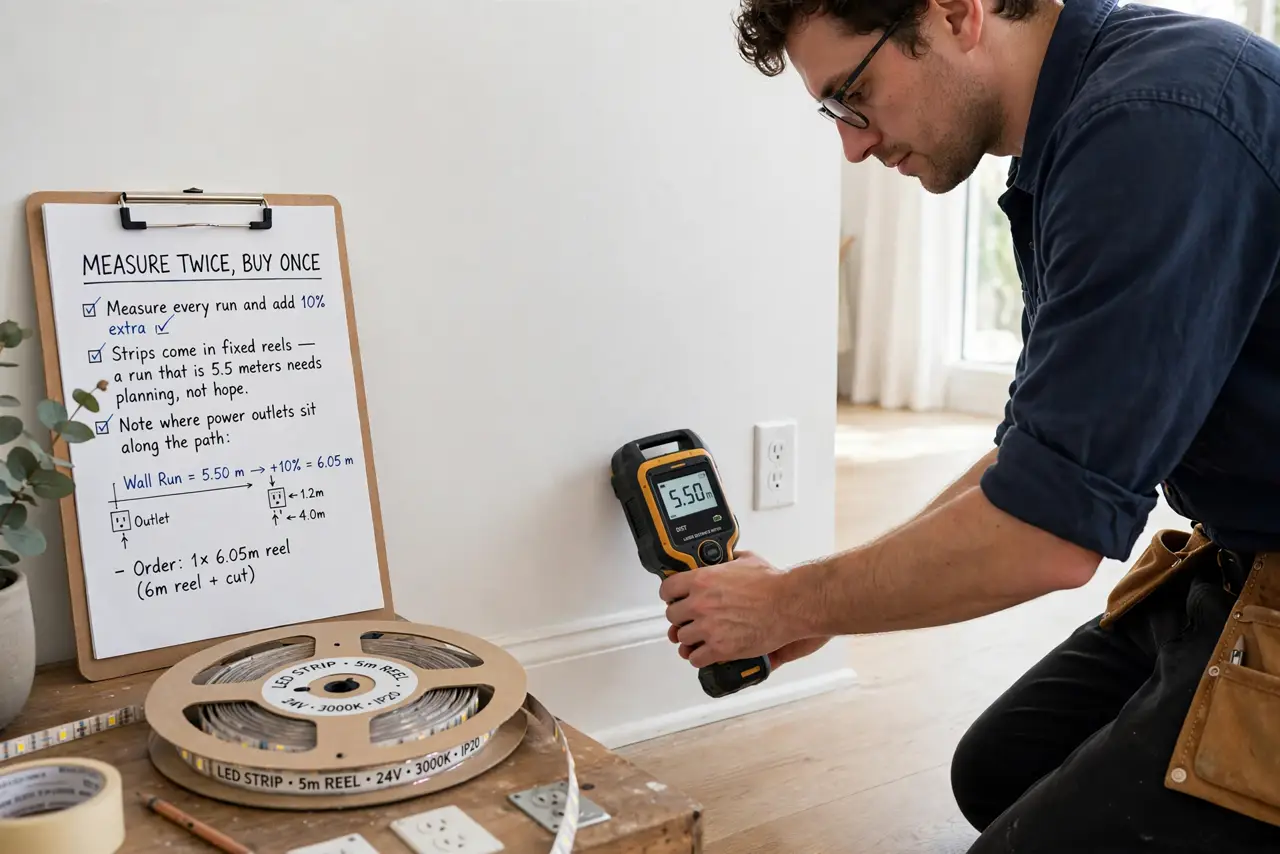
- Measure twice, buy once. Measure every run and add 10% extra. Strips come in fixed reels — a run that is 5.5 meters needs planning, not hope. Note where power outlets sit along the path.
- Clean the mounting surface. Wipe with isopropyl alcohol and let it dry. LED adhesive bonds to clean, smooth surfaces and peels off dusty or greasy ones within weeks.
- Cut only at the marked lines. Scissor icons mark safe cut points, usually every few inches. Cutting anywhere else kills that segment — and check LED interference if your Wi-Fi acts up nearby.
- Join sections with connectors. Use solderless clip connectors for corners and extensions. They are forgiving for beginners and hold well when snapped shut firmly.
- Plan power for long runs. Beyond about 5 meters, voltage drops and the far end dims or shifts color. Feed power from both ends or use a stronger supply matched to the strip's wattage.
- Connect controller before wall power. Wire strip to controller, controller to power supply, then plug into the wall. Powering the strip directly or hot-plugging can fry the controller.
What NOT to do
- Do not power the strip while it is still coiled on the reel. Coiled strips overheat fast — unroll fully before the first power-on.
- Do not cut between the marked lines. One wrong snip kills LEDs on both sides of the cut.
- Do not stick strips to rough or textured walls. The adhesive needs smooth contact — use aluminum channels on tricky surfaces.
- Do not mix power supplies casually. A 12V supply on a 5V strip (or vice versa) destroys it instantly — match voltage exactly.
Frequently asked questions
Why is the far end of my strip dimmer?
Voltage drop over distance. Feed power from both ends or shorten the run — it is physics, not a defect.
Can LED strips go outdoors?
Only IP65-rated or higher strips, with waterproof connections. Indoor strips die quickly in rain and humidity.
Do LED strips use much electricity?
No — a typical 5-meter strip uses less than an old incandescent bulb. Leaving them on all evening costs pennies.